Windows XP
- Open the Control Panel.
- Open the "Add Hardware" wizard. If you are using Windows XP's default "Category View" for the Control Panel, this is done by clicking on "Printers and Other Hardware" and under "See Also" on the left, click "Add Hardware".
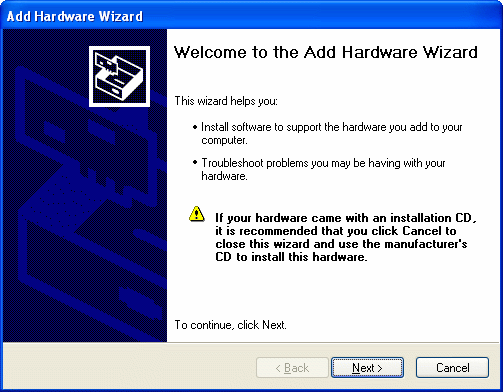
- The wizard typically displays a screen explaining what it is used for.
Click Next to continue.
- The wizard may automatically scan for new hardware. The scanning will not detect any Portal I/O cards.
- You may be asked "Have you already connected this hardware to your computer?" Regardless of whether you have installed any cards yet, click Yes.
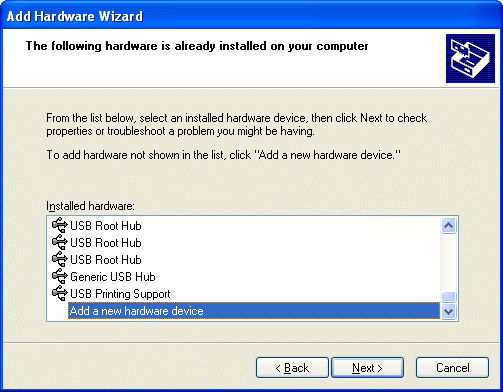
- You will be shown a list of the hardware already installed in your computer.
Scroll all the way down and select "Add a new hardware device"
- You will be asked whether Windows should search for the new hardware. Select "Install the hardware that I manually select from a list"
- A list of hardware categories will be shown. Select "Show All Devices" (On some versions of Windows this may be called "Other")
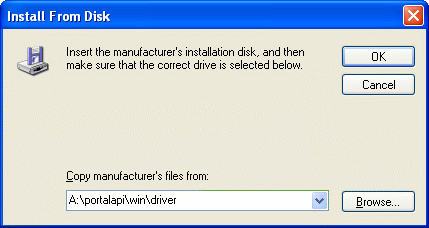
- Click the "Have Disk" button and point Windows to the "win\driver"
directory of the Portal distribution (if you downloaded the distribution, the
full path you specify will vary depending on where you extracted the
files.)
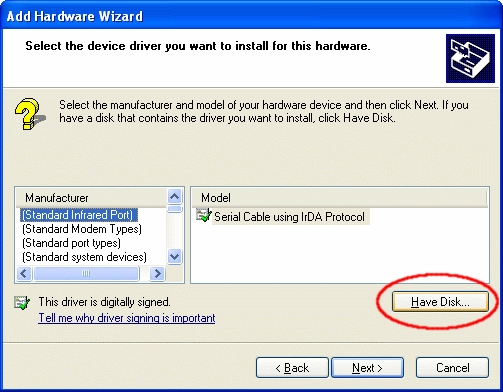
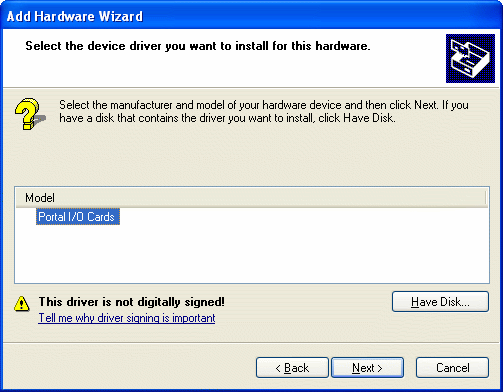
- A list of drivers found in the directory you specified will be shown. Select
the "Portal I/O Cards" item and click Next.
- Click Next again to "start installing your new hardware."
- The files will be copied and installed. Click Finish to complete. You do not need to restart your computer.
Windows 2000
- Open the Control Panel.
- Open the "Add/Remove Hardware" wizard.
- The wizard typically displays a screen explaining what it is used for. Click Next to continue.
- You will be asked whether to Add or Uninstall a device. Select "Add/Troubleshoot a device" and click Next.
- The wizard may automatically scan for new hardware. The scanning will not detect any Portal I/O cards.
- You will be shown a list of the hardware already installed in your computer. Select "Add a new device" and click Next.
- You will be asked whether Windows should search for the new hardware. Select "No, I want to select the hardware from a list"
- A list of hardware categories will be shown. Select "Other devices"
- Click the "Have Disk" button and point Windows to the "win\driver" directory of the Portal distribution.
- A list of drivers found in the directory you specified will be shown. Select the "Portal I/O Cards" item and click Next.
- You will be informed that "Windows will use default settings to install the software for this hardware device." Simply click Next to begin installation.
- The files will be copied and installed. Click Finish to complete. You do not need to restart your computer.
Windows Me
- Open the Control Panel.
- Open the "Add New Hardware" wizard. (You may have to click "view all Control Panel options" for this to be displayed.)
- The wizard typically displays a screen explaining what it is used for. Click Next to continue.
- You will be told that the wizard will scan for new Plug and Play devices. Click Next to continue. The scan will not find any Portal I/O cards. If the wizard displays a list of devices that were found, select "No, the device isn't in the list".
- You will be asked if Windows should search for non Plug and Play hardware. Select "No, I want to select the hardware from a list".
- A list of hardware categories will be shown. Select "Other devices" and click Next.
- Click the "Have Disk" button and point Windows to the "win\driver" directory of the Portal distribution.
- A list of drivers found in the directory you specified will be shown. Select the "Portal I/O Cards" item and click Next.
- One last page will be shown stating "Windows can continue installing your hardware now." Simply click Finish to perform the installation. You do not need to restart your computer.
Windows 98
- Open the Control Panel.
- Open the "Add New Hardware" wizard.
- The wizard typically displays a screen explaining what it is used for. Click Next to continue.
- You will be told that the wizard will scan for new Plug and Play devices. Click Next to continue. The scan will not find any Portal I/O cards. If the wizard displays a list of devices that were found, select "No, the device isn't in the list".
- You will be asked if Windows should search for non Plug and Play hardware. Select "No, I want to select the hardware from a list".
- A list of hardware categories will be shown. Select "Other devices" and click Next.
- Click the "Have Disk" button and point Windows to the "win\driver" directory of the Portal distribution.
- A list of drivers found in the directory you specified will be shown. Select the "Portal I/O Cards" item and click Next.
- One last page will be shown stating "Windows can continue installing your hardware now." Simply click Finish to perform the installation. You do not need to restart your computer.
Windows 95
- Open the Control Panel
- Open the "Add New Hardware" wizard
- The wizard typically displays a screen explaining what it is used for. Click Next to continue.
- You will be asked if Windows should search for your new hardware. Select "No".
- A list of hardware categories will be shown. Select "Other devices"
- Click the "Have Disk" button and point Windows to the "win\driver" directory of the Portal distribution.
- A list of drivers found in the directory you specified will be shown. Select the "Portal I/O Cards" item and click Next.
- One last page will be shown stating "Windows can continue installing your hardware now." Simply click Finish to perform the installation. You do not need to restart your computer.
Windows NT
- Run the NTinstall.exe program, located in the "win\driver" directory
- A message box will be shown explaining that the driver will be installed. Click Yes to continue.
- A message box will be shown confirming that the driver was installed. Click OK to complete. You do not need to restart your computer.
Removal
On all Windows operating systems except Windows NT, the driver is displayed in the system Device Manager / Device Tree (along with your Serial Ports, Sound Cards, etc.). The driver will be shown under the category of "Winford Engineering I/O Devices". The driver can be uninstalled right from the device tree, typically by selecting the driver and hitting the Delete key or by right-clicking and selecting Uninstall. On Windows NT, use the NTuninstall.exe program in the "win\driver" directory to uninstall the driver service.Linux
The Linux version of the Portal API uses the device file /dev/port to perform
port I/O and communicate with the I/O cards. Therefore, no driver installation
is necessary. The only thing you must do is ensure that your applications are
executed with root-level privileges. This is due to the fact that port I/O
is a privileged operation and is not available to non-root users. Other than
that, just be sure to link your program with wecrd.a as described in the
programming language help page.
Copyright 2004 Winford Engineering.